However, this quest has a few prerequisites that you need to complete before you can accept it from Bunchin. This quest is also part of patch 4.3 of Final Fantasy XIV: Stormblood, so you need to have the Stormblood expansion before you can start unlocking the dungeon. Here’s a quick step-by-step reference guide:
Quick Step-by-Step Unlocking Guide
Detailed Unlocking Guide
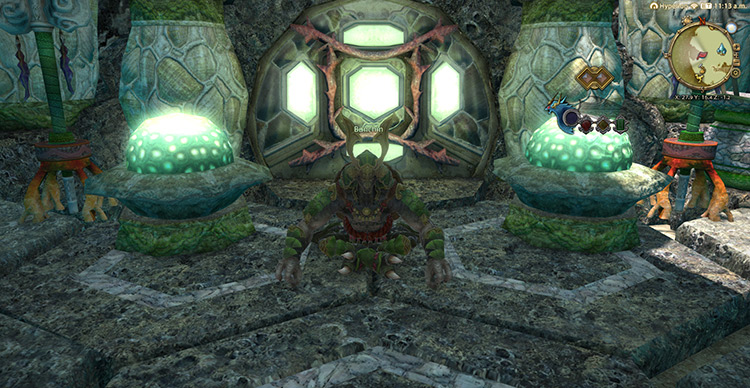
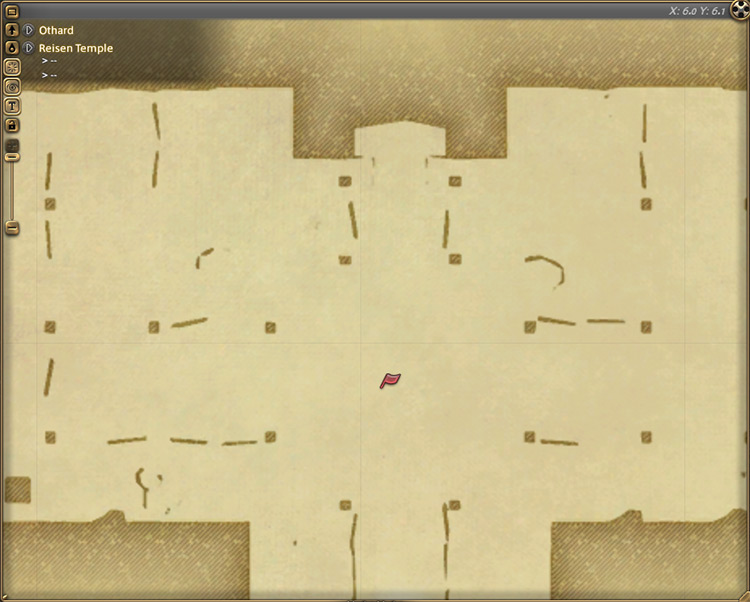
You can start unlocking The Swallow’s Compass by completing the Main Scenario Quest (MSQ) “Hope on the Waves” from Yugiri in Kugane (X:11.2, Y:9.6). This quest is part of the Post-Stormblood Main Scenario Questline from patch 4.2 of the Stormblood expansion. You need to finish every MSQ leading up to “Hope on the Waves” before you can start unlocking the dungeon. After catching up with the MSQs, head to The Ruby Sea and complete the quest “An Auspicious Encounter” from Soroban in The Ruby Sea (X:5.7, Y:15.7). This quest marks the start of the Four Lords Questline, where a collection of high-level trials and dungeons can be unlocked, including The Swallow’s Compass. The Four Lords Questline follows your journey with the Kojin Soroban in search of a mythical treasure. In this quest line, you’ll discover mythical beings with incredible power and learn about the story of the legendary samurai that brought them all together. In “An Auspicious Encounter,” you’ll unlock the “Hells’ Lid” dungeon, followed by “The Jade Stoa” trial. Hells’ Lid is a level 70 four-person dungeon, while The Jade Stoa is a level 70 eight-person trial. Since these encounters are old content, It’s highly recommended to do them unsynced to make it easier for you to progress. Once you’re done with “An Auspicious Encounter,” teleport to the Tamamizu Aetheryte in The Ruby Sea and accept the quest “Tortoise in Time” from Bunchin in The Ruby Sea (X:27.9, Y:16.4). You and Soroban have done well in quelling Byakko’s aramitama in The Jade Stoa. However, the auspice Genbu has decided that Soroban isn’t ready to take on Suzaku and Seiryu yet. So Genbu has taken Soroban under his wing to prepare the Kojin for the tougher battles ahead. Bunchin will inform you that Soroban hasn’t returned to Tamamizu in a while, and a visit to the temple is in order. Right on cue, Tataru will contact you through a linkpearl and invite you to join her in visiting Soroban. Go to the tanuki named Furi in The Ruby Sea (X:27.1, Y:38.3) to re-enter the Reisen Temple. You can quickly reach Furi by teleporting to the Onokoro Aetheryte and talking to the Confederate Skipper in The Ruby Sea (X:23.5, Y:10.4). Upon entering the temple, talk to Genbu in the Reisen Temple (X:6.1, Y:6.0). While Soroban’s training has been fruitful, Genbu wants to further improve Soroban’s abilities by turning him into an auspice temporarily using the “Tamate-bako of Geomancy.” Using this ancient time manipulation relic on Soroban can help him age a thousand years and temporarily turn him into an auspice. Due to the danger this relic posed to auspices, it was locked within the ancient mausoleum of Ganen, The Swallow’s Compass, to keep it from falling into the wrong hands. Unfortunately, the mausoleum has been abandoned for a long time. And shikigamis now roam its halls. Genbu would have you and your friends retrieve the relic to continue Soroban’s training. After talking to Genbu, head to The Glittering Basin in Yanxia and speak with the whittret Kamaitachi in Yanxia (X:11.7, Y:26.9) to unlock The Swallow’s Compass. To enter this dungeon, you’ll need at least a level 70 Disciple of War or Magic job and an average item level of 330. Since this dungeon was released back in patch 4.3, it’s easy to solo when you enter unsynced with a level 90+ character. Though if you encounter this dungeon in a duty roulette, you will need to do it synced. To help you clear The Swallow’s Compass quickly, here’s a breakdown of each boss:
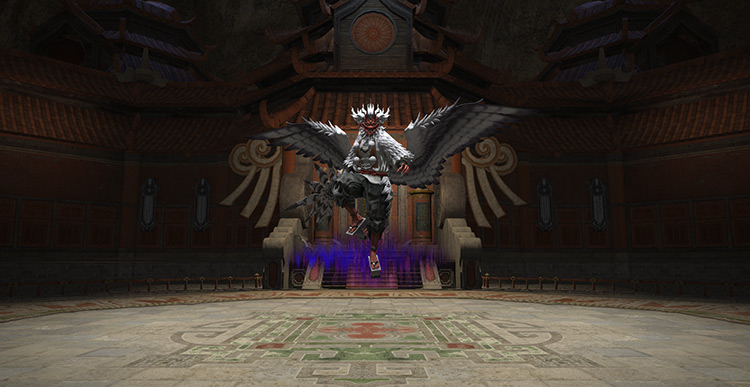
Boss #1: Otengu
Mechanics: The floating embers make it harder to move around the arena. Don’t move around too much, and keep your suppuration stacks at a manageable level.
Might of the Tengu: A tankbuster attack on the primary target. Use damage-reduction skills and heal through the damage. Clout of the Tengu: A group-wide AoE attack. Mitigate and heal through the damage. Yama-kagura: The boss will target a random player with a wide column AoE. Dodge this as necessary. Tengu Embers: After some time, fiery embers will spawn throughout the arena. These embers inflict a stacking suppuration debuff that lowers the maximum HP and increases the damage taken to anyone that touches them. The embers don’t hit very hard, but getting multiple stacks of suppuration can be deadly. Avoid these embers as much as possible. Wile of the Tengu: A purple eye marker will appear on the boss. Anyone facing the boss after the cast goes off will be inflicted by a hysteria debuff. Hysteria will cause players to run around uncontrollably and most likely hit several embers along the way. Turn your character away from the boss during the cast. Tengu Ember Explosions: Tengu embers will eventually stop moving and explode, spawning telegraphed circle AoEs in their place. These explosions also inflict a stacking suppuration debuff. Run away from the embers as soon as they stop moving.
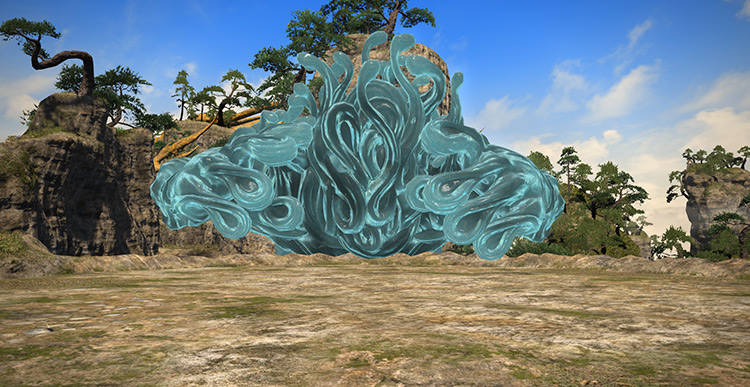
Boss #2: Daidarabotchi
Mechanics: This boss does not have any cast bar for most of its attacks. So always pay attention to how it’s moving. The arena will shrink in the latter half of the fight, so don’t stray away from the rest of your party unless it’s necessary.
Greater Palm: A prompt saying “Daidarabotchi is gathering aetherial energy…” will appear. Then, the boss will slam one of its arms on one half of the arena. Move away from the side of its raised arm, or you will be hit and inflicted with a stacking vulnerability debuff. Tributary: Up to two players will be targeted by large cone AoEs. Bait the cone AoEs in one part of the arena, then move to the sides to dodge them. Mountain Falls: When the boss uses “Tributary,” it will also put blue circle AoE markers on up to two targeted players. Spread out while dodging “Tributary” to prevent overlapping damage. Mirage: The boss will say: “The Land take You, Claim You!” Then, one DPS player will be targeted by a green marker. After a few moments, earth spike AoEs will start chasing them around the map. Bait these AoEs away from the group. Mythmaker: The boss will punch the middle of the arena, creating a small pool of water that grows over time. Anyone standing in this pool will be inflicted with a “Six Fulms Under” debuff, slowing them down and guaranteeing death after 11 seconds if they stay in the water. This pool will grow outward, shrinking the arena as the fight continues. Stay away from the water and bait your AoEs around it.
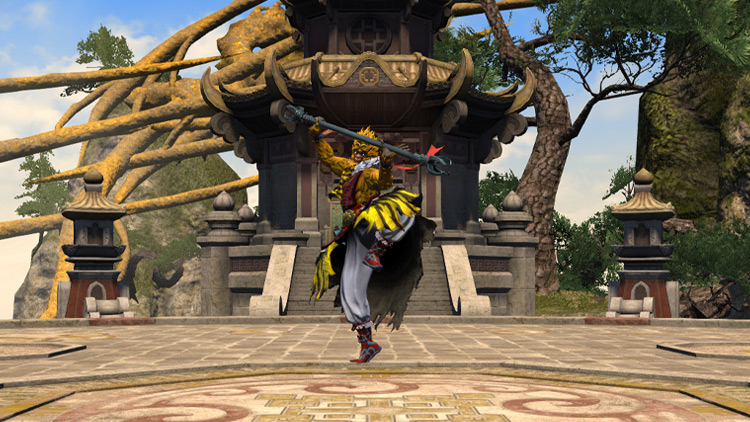
Boss #3: Qitian Dasheng
Mechanics: This boss can be very tricky and punishing because of its knockback mechanics. Always pay attention to the boss’ spear to easily dodge incoming mechanics.
Phase 1
Near the start of the encounter, the outer edges of the platform will turn into an electric field. Anyone that ends up in this field will be inflicted with a stacking vulnerability debuff (up to 8 stacks) and a continuous bleeding debuff.
The Short End: A tankbuster attack on the primary target. Use damage reduction skills and heal through the damage. Both Ends: The boss will use its spear for a point-blank circle AoE or an arena-wide donut AoE. If the boss’ spear extends during the cast, it will use a donut AoE attack. If its spear remains the same, it will use a point-blank AoE attack. Failing this mechanic will knock you back into the electric field. Long End: The boss will tether to a player and hit them with a long column attack while circle AoEs drop around the arena. If more than one player is hit by the column attack, it will knock players back. If you’re tethered, bait these line attacks away from the group AoE. Mount Huaguo: A group-wide AoE attack. Mitigate and heal through the damage. Monkey Magicks: At around 50% HP, the boss will become invulnerable and summon eight “Servant of the Sage” mobs. The boss’ duty gauge will continue to increase until the servants are killed. If the duty gauge reaches 100, the incoming attack will most likely wipe the party. The tank should pick up the servants while the rest of the party bursts them down. Second Heaven: A group-wide AoE attack based on the duty gauge. Mitigate and heal through the damage.
Phase 2
Splitting Hairs: The boss will summon two “Shadow of the Sage” mobs in its place, doubling the mechanics you need to handle. Focusing one shadow down will cause the other to split again. Kill these clones at around the same time to avoid another split. Both Ends x2: In phase 2, the boss will cast both variations of this attack through the clones. Run toward the clone with the longer spear. Mount Huaguo x2: Two group-wide AoE attacks with roughly the same damage as a single “Mount Huaguo” cast from phase 1. Mitigate and heal through the damage. Long End x2: In phase 2, each clone will tether to a random player. Bait the line attacks from the rest of the party while dodging the ground AoEs. The Short End x2: Two tankbuster attacks with roughly the same damage as a single “The Short End” cast from phase 1. Use damage-reduction skills and heal through the damage. Five-fingered Punishment: The clones will target a random player with a stacking AoE marker. The rest of the party should group up with the targeted player to mitigate incoming damage.
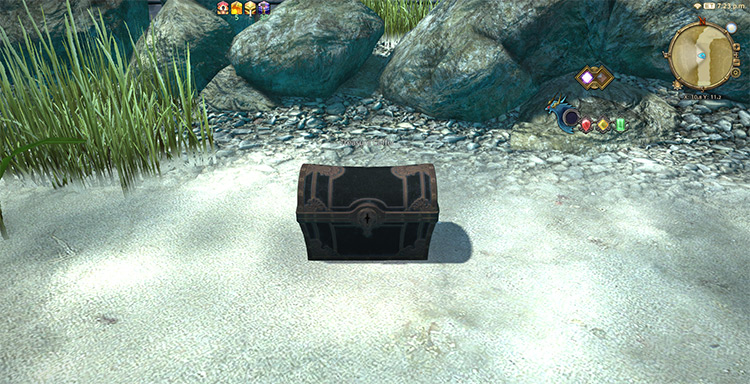
Extra Treasure Coffers
Apart from the boss rewards, there are four treasure coffers located throughout the dungeon that you can open for more gear or crafting material rewards:
(X: 10.7 Y: 11.2) (X: 12.2 Y: 7.9) (X: 9.8 Y: 14.3) (X: 11.4 Y: 10.2)